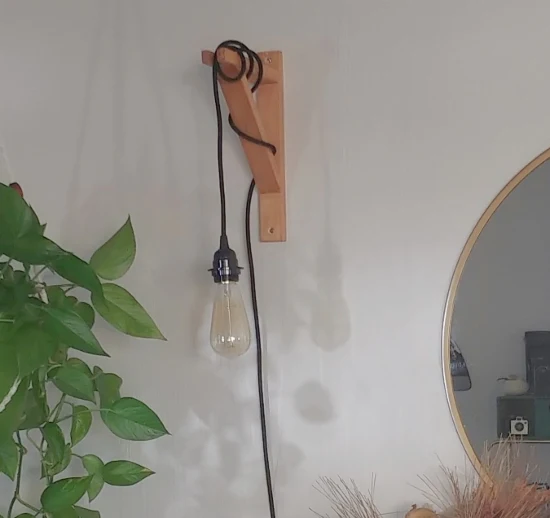
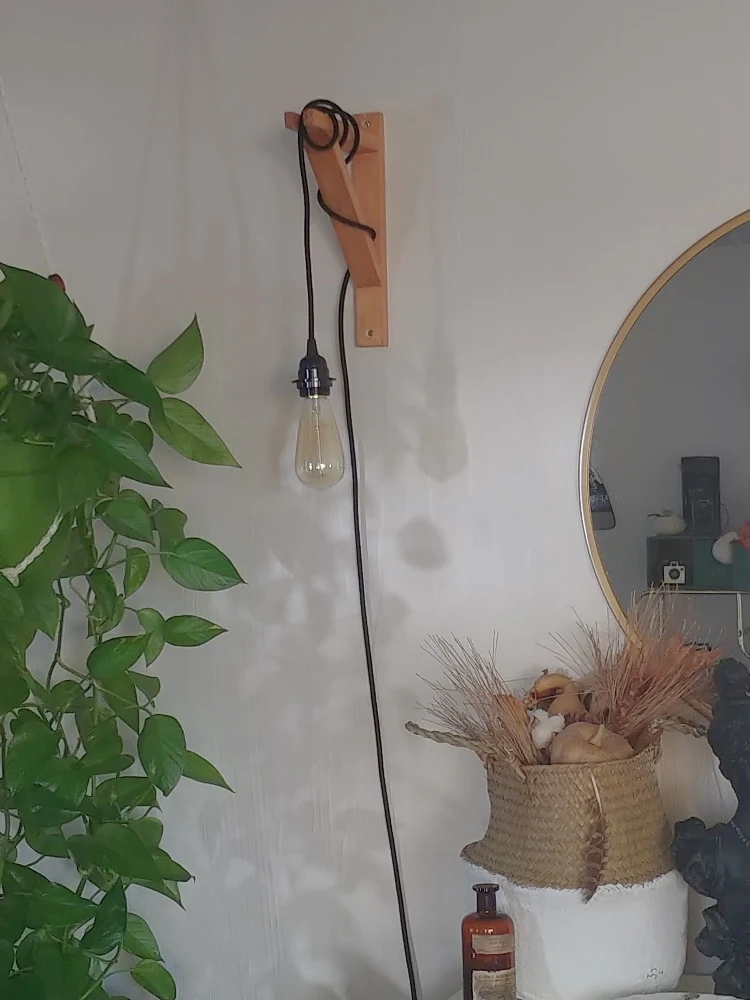
DIY Bracket Wall Sconce Light
18 October
After my new couch was delivered and I redecorated my living room I decided I needed another lamp in the room.
The problem was that I didn't have any place to put one... I have lamps but no place for one to sit! I looked through the garage hoard and shopped my own house for a small table or something suitable but came up empty-handed.
So, I did the next best thing, I DIY'd it!!
Instead of focusing on something for the lamp to sit ON, I redirected my energy and made a hanging light!
I had pinned one of these simple bracket lights some time ago. At the time I had my bedroom in mind but I thought it would make a perfect little lamp for the living room too and I had the perfect spot for one! Check out all these bracket lights on Pinterest!
It seemed there was something missing with my fireplace arrangement but I think this little pendant light rounds the whole arrangement out!
I made it with a piece of wood I had in the garage hoard and this little pendant light fixture that I found at TJ Maxx for just $14.99!
I actually bought this thinking it would work for my dining room light but it didn't.
But it is perfect for this little project! All I needed was a bracket!
I had a piece of 1" x 2" that was just long enough and I mean JUST BARELY! There was no room for error!
No room for errors and I needed to cut miters... oh vey... I crossed my fingers and just went for it!
Here are my pieces all cut and sanded.
Some of the bracket lights I found on Pinterest were made so that you would have to unwire the light and thread the cord through a hole. I was happy when I saw one that was notched instead because I really didn't want to have to redo the wiring!
Here is the test fit... yippee!!! The miters were correct!
Now I just needed to attach the pieces together to form my bracket. I just used screws. Since this won't be holding anything except a light I didn't think glue was necessary.
I countersunk the screw holes where it would be attached to the wall. To do this you first drill the regular screw hole, then using a larger drill bit drill into the small hole a little bit.
I countersank the holes because I wanted to use these button plugs to cover the screw heads!
Then I stained the bracket.
Attach the bracket to the wall (I didn't even bother with molly's since this won't be holding anything heavy)...
And then wrap the cord around and around!
Finally, I remembered to add the button plugs! 😂
You can see the rest of my living room here: Fall Living Room Tour
What do you think?
PIN ME!
Posted by: Tania | Little Vintage Cottage
at 18 October
Tag:
craft projects


Comments by Blogger
Post a Comment
I love your comments! If you want to be notified when I respond to you, check the "Notify Me" button under your comment.