DIY Embroidery Hoop Pumpkins - 7 Days of Thrift Shop Flips
20 August
Are you ready for Day 4 of 7 Days of Thrift Shop Flips?!
I sure am, this is my very favorite project of the whole bunch and I'm so excited to share with you!!
If you are popping in here for the first time and you're wondering what's going on, let me catch you up real quick!
National Thrift Shop Day was August 17th and to celebrate each year, I post a thrift shop flip project every day for 7 consecutive days. We are now on Day 4! You can catch up on days 1 through 3 at the end of this post!
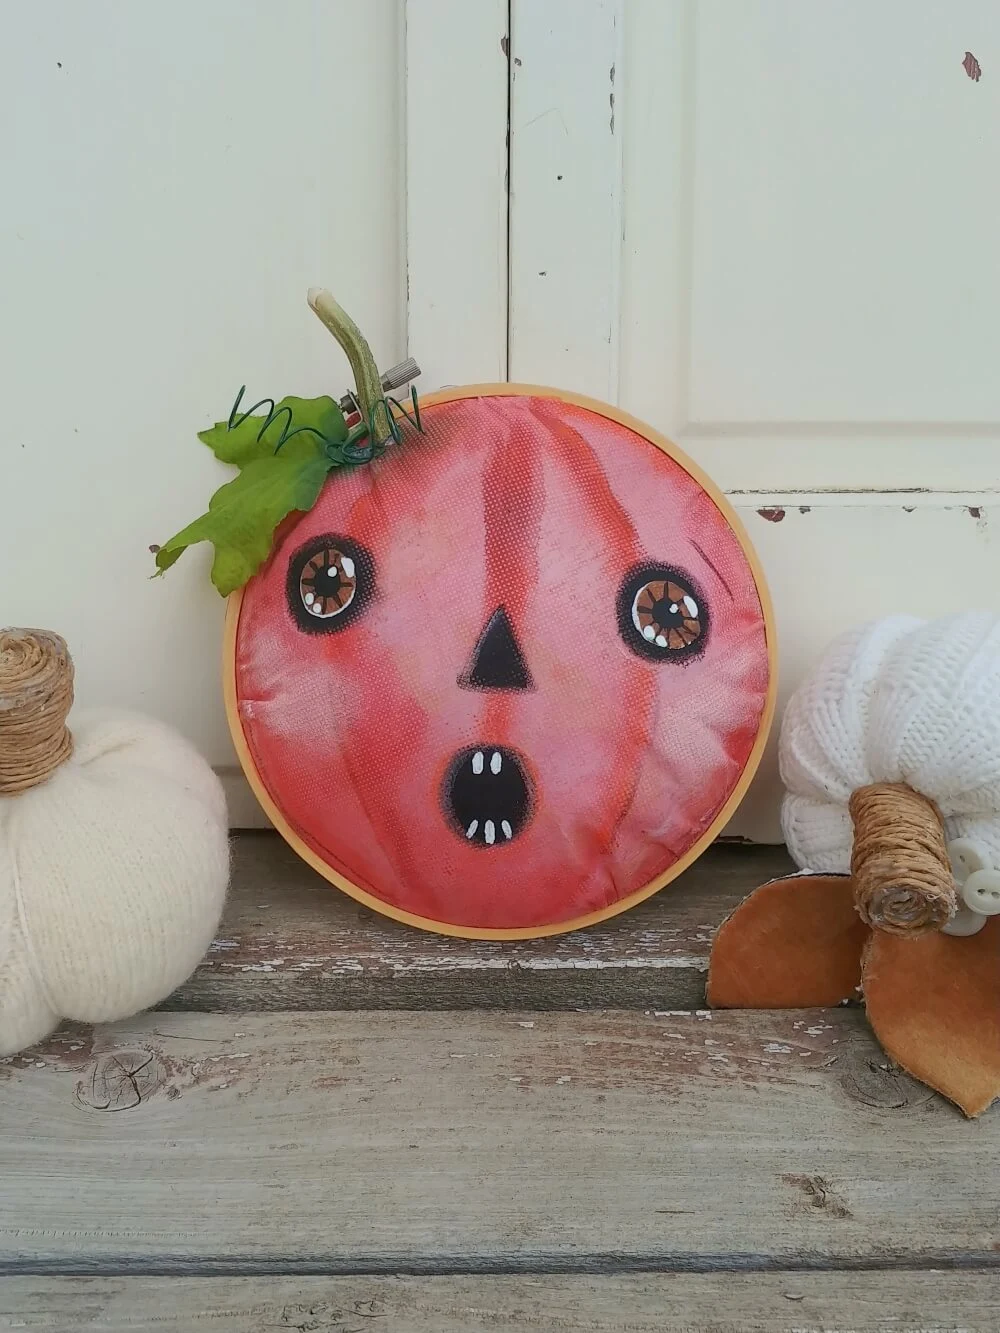
So back to today's project, we are making DIY embroidery hoop pumpkins!!! 😍
DIY Embroidery Hoop Pumpkins - 7 Days of Thrift Shop Flips
This post contains some affiliate links for your convenience (which means if you make a purchase after clicking a link I will earn a small commission which helps keep my blog up and running but it won't cost you a penny more)! Click here to read my full disclosure policy.
Supplies You Will Need:
- Embroidery hoops
- White fabric (I used the fabric from a cheap pillow insert)
- Paint (orange, black, white, pink, brown, and the color of your choice for the pumpkin eyes)
- Silk leaves
- Floral wire
- Hot glue
- Stuffing
- Dried pumpkin stems (optional)
You should be able to easily find a couple of embroidery hoops at most any thrift store. I also used the fabric from a pillow form... also thrifted. I adapted this pattern from Hudson Holidays to fit.
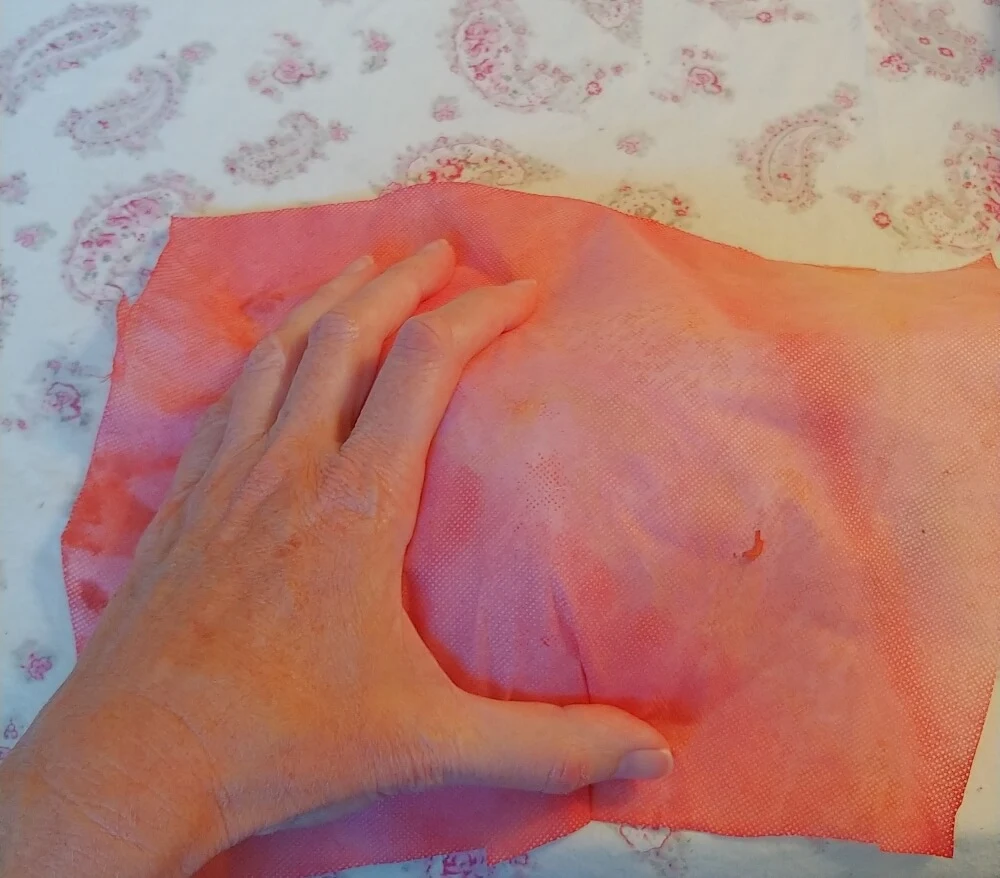
I had one that I was using the stuffing out of and thought there must be something I could do with the fabric from it once the stuffing was all gone! It looked like this:
So, since I was starting with white fabric and I wanted to make a pumpkin... I needed to dye my fabric. You could totally just use orange fabric to start if you want to skip this part but I really liked the way this turned out.
To make your own dye, put water in a container large enough to hold your fabric pieces. Make sure its enough water to submerge the fabric into. Squirt in some orange paint and stir it up until its the color you want.
Next, cut a piece of cardboard to fit the back of the embroidery hoop. This will be the backing for your pumpkin.
Glue the smaller, inside piece of the embroidery hoop to the cardboard. Allow that to dry.
Once that is dry, place a ball of stuffing on top of the cardboard.
Finally, place the top embroidery hoop piece over that and tighten the screw.
Now fold the fabric over the back, pull it tight, and glue it down to the back of the cardboard. Don't skip this step, this will secure it nicely in place and ensure that the cardboard isn't popped off the back with the pressure of the stuffing and tight fabric!! Hold it with clamps while the glue dries.
Now the boring part is done. You have a cute, squishy little pumpkin shape!
Start with some stripes of orange. Mine is called Adobe Red but any darker orange will work. These are sloppy stripes, don't try to get the edges crisp, it won't be as cute in the end 😉
Now go over those with lighter orange. I used Harvest Orange. Again, very sloppy and don't cover the whole stripe this time. Lightly go around the outside edge of the pumpkin with the darker and then lighter orange too.
Next comes the face. Use black to paint the eyes, nose, and mouth. Leave the edges sloppy still... I mean you want a circle shape for eyes, but you don't want crisp lines. It should look like a bad smokey eye makeup job!! 😂
Use the end of the paintbrush to add the pupils. Add cheeks with pink and a dry stencil brush. Dip it in the paint, wipe it off on a paper towel, and then use circular motions on the pumpkin cheeks just like you put on your own blush!!
You can also use some black paint and make a little line along the sides of the stripes and add some eyebrows. Just dip your paintbrush in the paint and wipe it off on a paper towel so it is very dry.
Use the end of the paintbrush again and some white paint and make little highlight dots on the eyes. Two dots on the side of the pupil and one larger one in the iris. This gives him life and makes him not so flat looking!
Use some brown and a little green around where the stem will go.
I saved and dried some pumpkin stems last year so I used those. You could use a little twig or piece of dowel if you don't have actual stems.
Pick out some silk leaves. If you don't have these, you could print some out or paint some on paper.
Glue all that to the top.
Oh. My. Gosh!!!! Aren't they so cute!!??
PIN ME!
To catch up on Days 1 through 3:
Day 1 - Upcycled Sugar Bowl Pincushion
Day 2 - Upcycled Sweater Sleeve Pumpkins
Day 3 - Upcycled Book Jewelry Box
For Day 5 here is a sneak peek!!😉
Posted by: Tania | Little Vintage Cottage
at 20 August
Tag:
fall


Comments by Blogger
Post a Comment
I love your comments! If you want to be notified when I respond to you, check the "Notify Me" button under your comment.