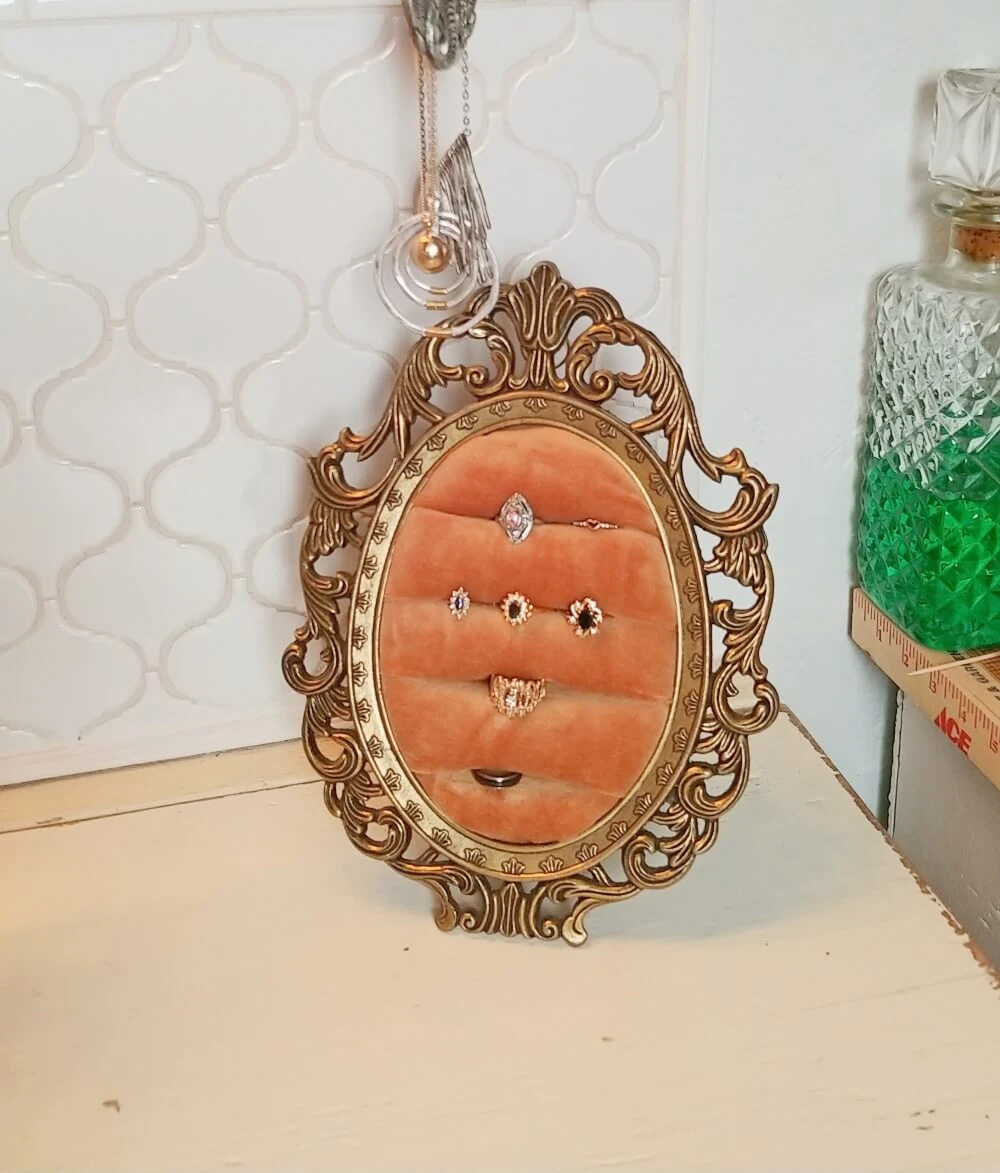
Repurposed Picture Frame Ring Holder - Thrift Shop Flip
This post contains some affiliate links for your convenience (which means if you make a purchase after clicking a link I will earn a small commission which helps keep my blog up and running but it won't cost you a penny more)! As an Amazon Associate, I earn from qualifying purchases. Click here to read my full disclosure policy.
Happy New Year!!
A new year always feels like a breath of fresh air to me, a time to get my shit together and start out with good intentions. Losing weight and getting in better shape are always at the top of my new year's resolutions but who am I kidding? I struggle with that all year, every year!
This year is a little different for me than most since my boyfriend and I bought our fixer-upper house and will be moving in together.
I've been obsessing over design choices and options for our new home together and organizing all our stuff is at the forefront of all the ideas I have.
So, today's post is a combination of something to help me organize and one of my favorite things... a good thrift shop flip!
I made myself a cool boho ring holder (and one to sell in my shop, Little Boho Cottage). I don't wear a lot of jewelry, my ears are no longer pierced but I do have a small collection of rings, necklaces, and bracelets.
Repurposed Picture Frame Ring Holder - Thrift Shop Flip
I found two of these metal frames at Goodwill for $2.99 each, they had weird, tacky Christmas prints in them. I had a picture of them but I can't find it anymore. But trust me, they weren't cute even in a kitsch sort of way.
- Picture frames
- Batting
- The fabric of your choice
- Hot glue gun and glue sticks
- Scissors
To begin, cut several pieces of batting. The size will depend on the picture frame you are using. My frames were basically 5" x 7" even though they are oval-shaped, so I cut them to about 10" long and a couple of inches wider than my frame.


Very pretty! Your choice of velvet fabric is pretty with the gold frame as-is. Great idea for organizing jewelry!
ReplyDeleteThank you!!
DeleteAmazing! Love it!
ReplyDeleteThanks Amber!
DeleteI’m going to make these as gifts !! Great idea and beautiful. Thank you
ReplyDeleteI'm glad you like them, they will make great gifts!
DeleteI am going to make these to display rings in a vintage and antique consignment shop. So unique and fun! Thank you for the idea and step by step instructions.
ReplyDeleteOoh! What a great idea Heather! I'm glad you like them.😊
Delete