Christmas in December - Retro Angel Ornaments
Well, this is it, the very last ornament from the 12 Months of Christmas Ornaments projects!
It's time for Christmas in December's ornament project. I have created a cute little retro angel ornament that we'll make this time. It is inspired by some vintage ones that I've seen and some cute little mice ornaments that were made the same way that we had on our tree when I was growing up.
If you missed any of the last eleven months' projects, you can check them all out here:
This project is easy to personalize with your choice of fabrics and hair color.
Christmas in December - Retro Angel Ornaments
This post contains some affiliate links for your convenience (which means if you make a purchase after clicking a link I will earn a small commission which helps keep my blog up and running but it won't cost you a penny more)! As an Amazon Associate, I earn from qualifying purchases. Click here to read my full disclosure policy.
I'll also have a share thread on my Facebook page to share our finished ornaments.
Here is the supply list:
- The angel pattern - click the link for the free printable pattern
- Fabric - a scrap of printed fabric and a scrap of solid fabric in cream or peach
- Recycled cereal box
- Yarn for the hair
- Coordinating ribbons and trims
- Scraps of lace for wings
- Mod Podge and a sponge brush
- White craft glue
- Craft paint - black, red, and blue
- Decorating chalks or blush
- Small clamps or clothespins
- Scissors - for cutting fabric and cardboard
- A pencil
Like last month's ornament, the fabric you choose doesn't necessarily have to be Christmas fabric. The angels will be adorable no matter what 😊
Here is the video tutorial:
Step One - Cut out the pieces
Print and cut out the pattern pieces. Trace them onto a recycled cereal box (any thin food box will work) and cut them out.
Cut two arms, one body, and one head.
Step Three - Roll the pieces
Roll the body and arm pieces into cone shapes. Add a line of white craft glue along the edge and clamp to dry.
Step Four - Make the hair
Use your fingers to create an uncut pom-pom for the hair.
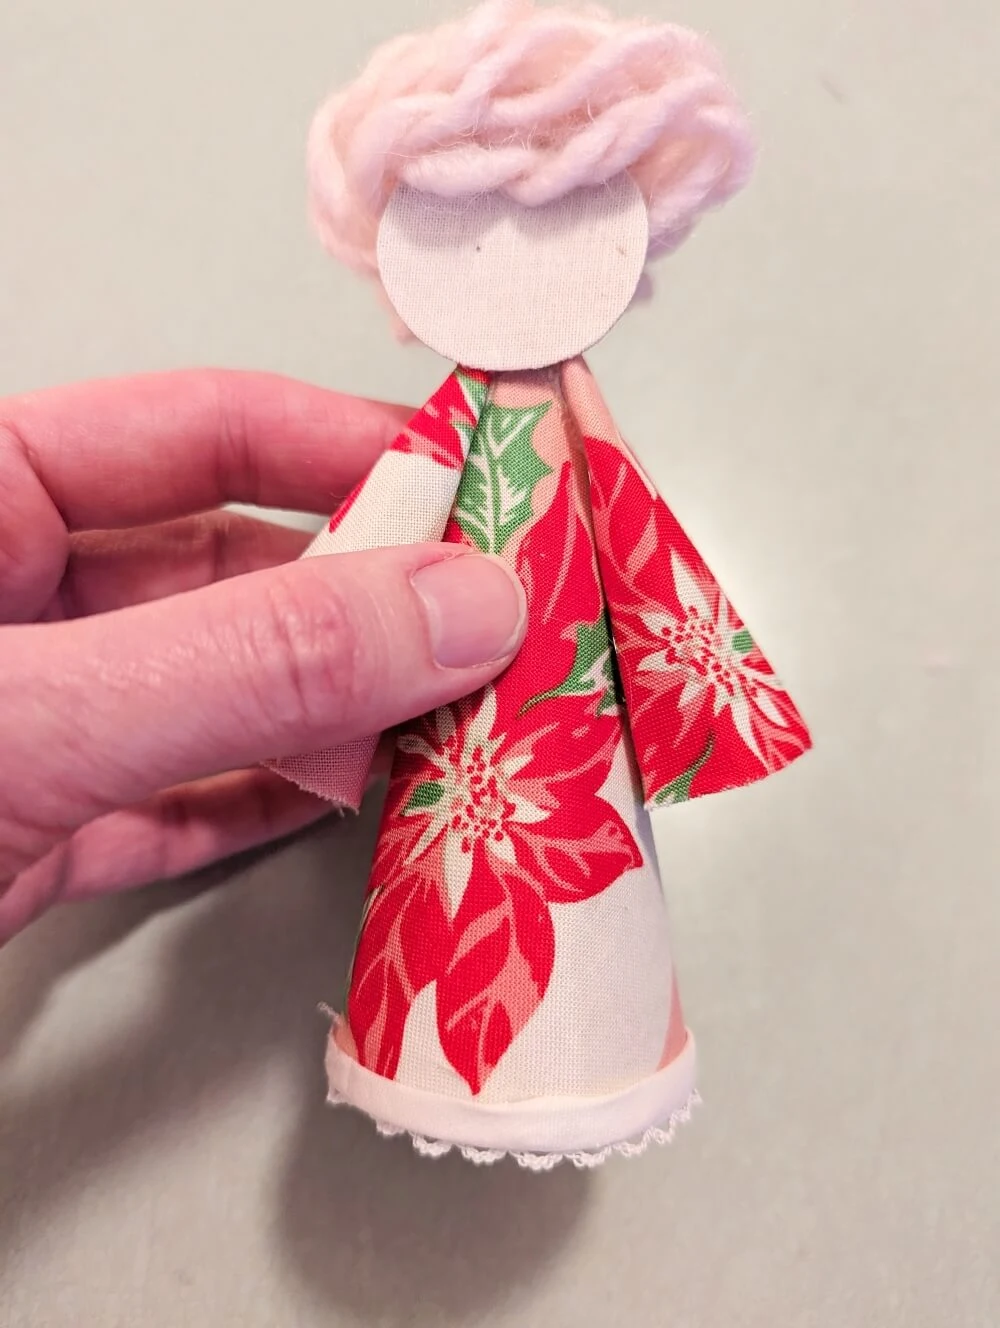
Add the hair to the head by gluing the knot to the back of the head. Use hot glue to add it to the bottom portion of the head leaving enough space to be able to glue the head to the body.
Step Five - Assemble the angel
Use hot glue to add the arms to the sides of the body (make sure the seam is in the back), and add the head to the front.
Step Six - Embellish with trim and ribbon
Add trim around the bottom of each cone shape and down the front of the angel.
Step Seven - Paint the face
Paint two circles of blue paint for the eyes. Her eyes are closed so this is her funky eyeshadow 😁
Use the black paint to line around the bottom half of the eyes and add eyelashes.
Use red for the mouth and pink decorating chalk and a Q-tip to add the cheeks (you can use blush too).
Step Eight - Sign your ornaments and share them on the Facebook thread
Don't forget to sign your ornaments somewhere and share them on the Facebook thread so we can all see!
Now that this 12 Months of Christmas Ornaments series is complete, I have enough ornaments to fill my entire Christmas tree this year!
I have shared a video of my decorated tree at the end of the tutorial video above. The tour of my tree starts at minute 52:49 in the video!
I hope that you enjoyed this post! If you did, I'd love it if you would share it!
PIN ME!


.jpg)
.jpg)
.jpg)
.jpg)
.jpg)
.jpg)
.jpg)
.jpg)

.jpg)
.jpg)
.jpg)

.jpg)
.jpg)

.jpg)
.jpg)
.jpg)


These are the cutest angels ever!! I love their hair and faces. I've fallen way behind with the monthly projects but do plan to go back and make some of them, at least. All the ornaments were so cute and creative. Thank you for all the work you went to creating them and posting instructions AND a video!!
ReplyDeleteThank you, it was a fun monthly project!
DeleteYour angels are very sweet Tania! I love their little faces !
ReplyDeleteThank you!
Delete