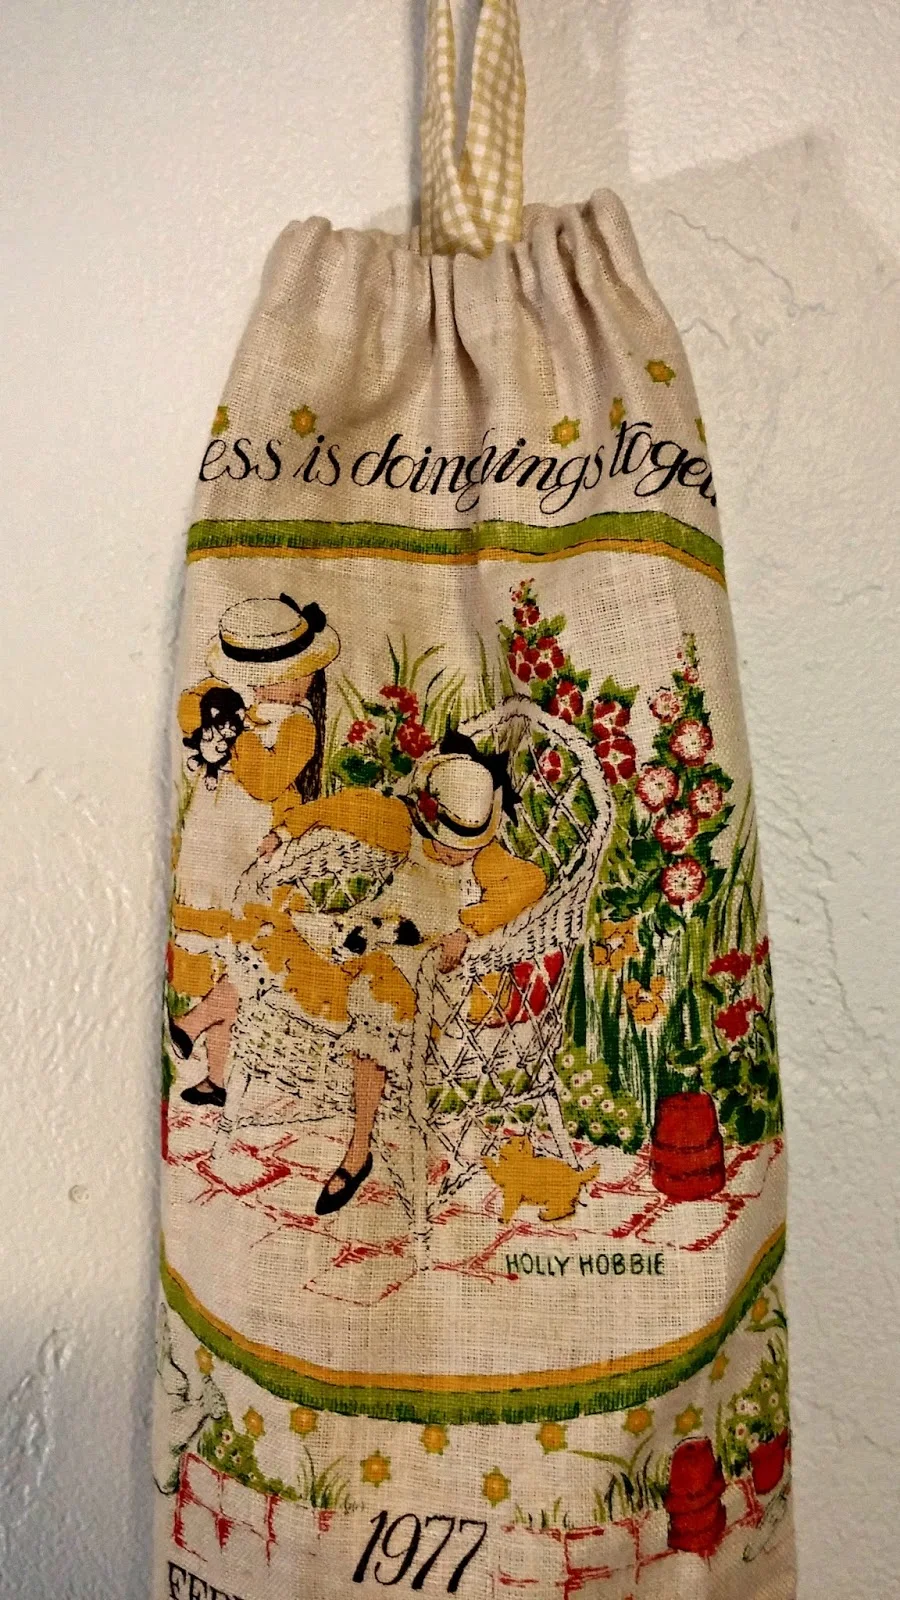
Repurposed Calendar Tea Towels
18 November
It's Friday, It's Friday! I am so ready for the weekend how about you?
Last weekend I was trying to get to my Thanksgiving decor that is stored out in my garage and I was having a hell of a time due to all the junk in my way!
I took a little bit of time and broke down all the boxes I've collected for shipping items from my Etsy shops and put them in a neat pile but there is still a lot of organization and cleaning that needs to happen out there.
I reuse them for garbage bags in the bathroom garbage cans and to pick up dog poo... I even use them for packing when I'm shipping things sometimes but I still have an abundance and I need a way to keep them organized.
Years and years ago I used to make plastic bag dispensers that looked like little granny's, they had little granny heads and their dresses stored the plastic bags.
Those are not my style anymore but I have a new take on them!
Supplies Needed
- Vintage Calendar Tea Towels
- Elastic
- Sewing Machine
- Coordinating fabric or ribbon (for the hanger)
Here is how to make them, they are super easy and only take about 15 minutes each!
The tops of these calendar towels have a little rod pocket already sewn into them, I suppose so you could hang them on the wall until the year was up and then you'd use them as a towel.
The top and bottom of the calendar need to have elastic added to keep your bags from escaping so that pocket comes in super handy because you can use it as the elastic casing.
Using that premade casing, thread a strip of elastic through. (TIP: to make threading the elastic through the fabric easier, attach a safety pin on the end of your piece of elastic, then you have something to grip when you are sliding it through the fabric casing).
Once you get the elastic threaded through pull it so the end is matched up with the edge of the fabric and stitch it down.
Now pull the other end of the elastic and scrunch up the fabric to the size you want the opening to be. You don't want it too tight, you will need enough room to shove bags in with your hand!
You can fold the towel in half lengthwise to estimate how large the opening will be. Once you have it where you want it, stitch that end down like you did the first and cut the elastic.
It should look something like this now.
The other end of the towel will not have a pre-sewn casing so you'll have to sew your own. The fabric is hemmed though so just fold it under and stitch a wide hem, wide enough to thread another piece of elastic through.
Follow the steps above to add elastic to this end of the towel. It should look like this now.
You will want the bottom opening a little bit tighter than the top opening so pull that elastic tighter than you did the top. The top will need to be wide enough that you can shove plastic bags into it with your hand, the bottom needs to be only wide enough to allow a bag to be pulled out.
To finish the bag, sew up the long edges and add a handle at the top that is big enough to slip over a doorknob. I used some coordinating checked fabric I had and just stitched it to the inside of the bag, right below the elastic.
Now just stuff if full of all those annoying plastic grocery bags!!
I think these would make a great Christmas gift for someone who is a) hard to buy for, b) has everything, c) likes unique gifts, or d) all of the above!
I listed these in my Etsy shop, Little Boho Cottage.
I still have a bunch more of these calendar tea towels, I've got several ideas for repurposing them!
Posted by: Tania | Little Vintage Cottage
at 18 November
Tag:
DIY & Crafts


What a cute idea!!
ReplyDeleteThanks Linda!
ReplyDeleteTania
Great way to use those calendar towels and they make really cute "bag bags"! It would be fun to match the date on towels to an occasion in someone's life, for a gift--anniversary, birthday, etc.!
ReplyDeleteYep, I was thinking that too!
ReplyDelete