I have another thrift shop flip to share from the last thrift haul I scored!
DIY Grungy Framed Mirrors
I found these two framed mirrors during a 1/2 off frames sale at one of my local thrift shops. They were marked $3.19 each but I got them both for that price because of the sale!
I liked the way they resemble old tin ceiling tiles but they were a little too silver for me.
I decided to try to give them a more old, aged appearance. This was totally an experiment though because I don't have a technique so-to-speak and I wasn't following any directions... just winging it!
This post contains some affiliate links for your convenience (which means if you make a purchase after clicking a link I will earn a small commission which helps keep my blog up and running but it won't cost you a penny more)! Click here to read my full disclosure policy.
Supplies Needed to Make Your Own: Step 1: Age The Mirrors
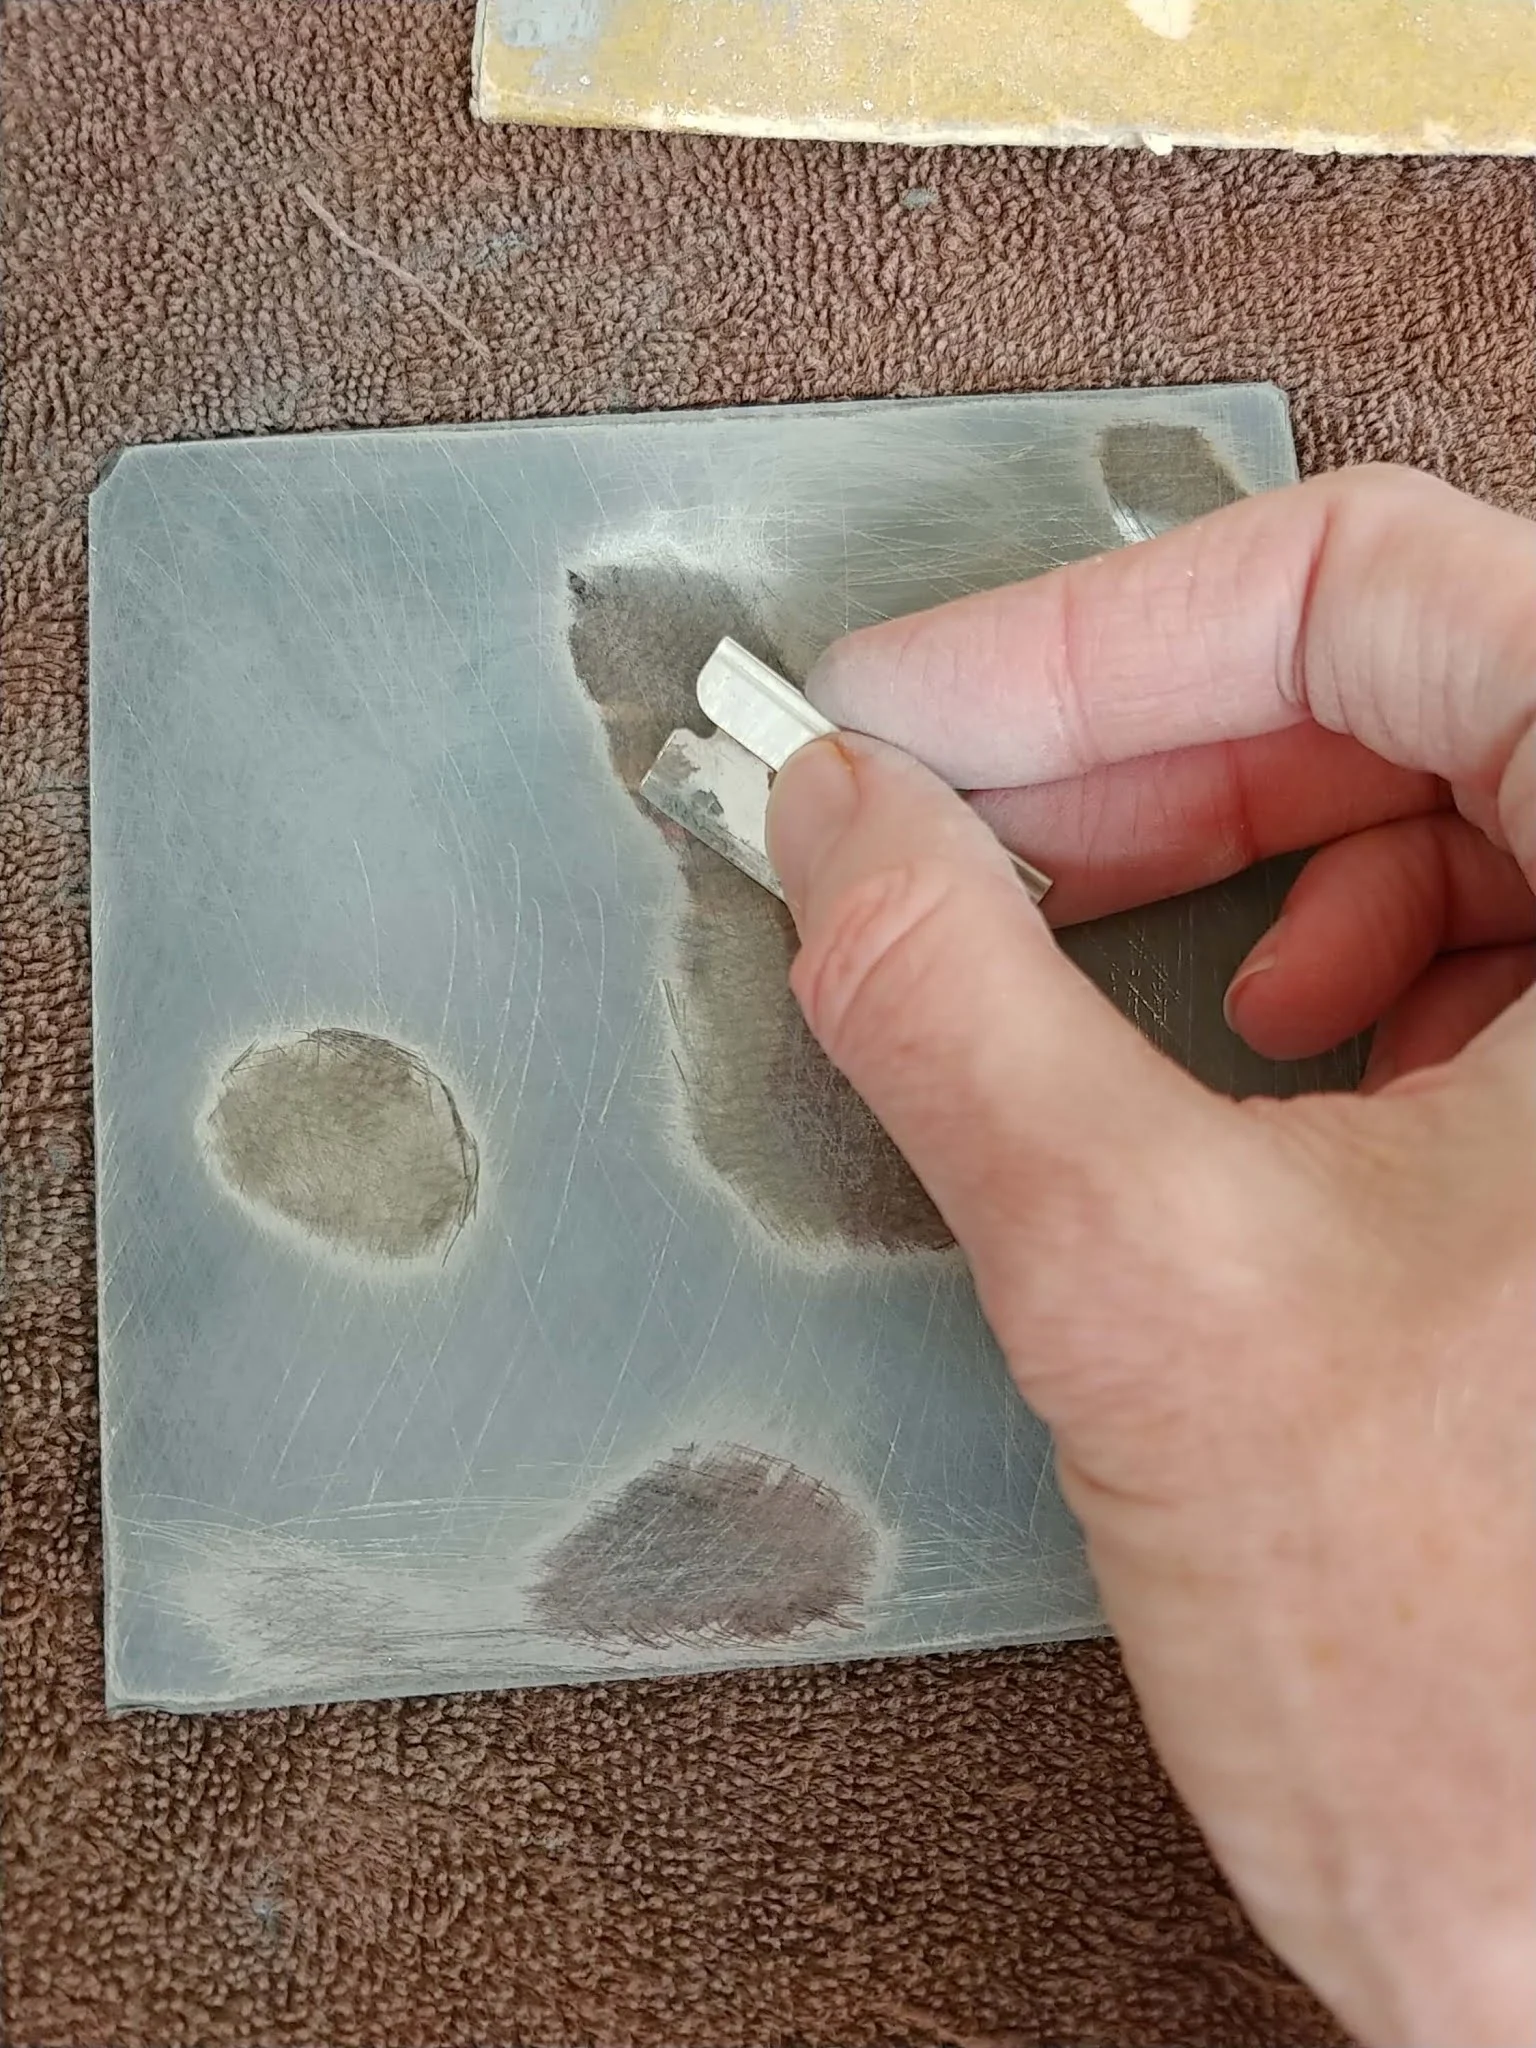
Remove some of the mirror backing with sandpaper and a razor blade.
I used the sandpaper and just rubbed in small areas until the backing and mirror finish came off a little.
I turned it over so you can see the mirror finish starting to come off.
Once I had some areas sanded off, I used a razor blade to make the edges a little more defined.
Step 2: Add the Paper Backing
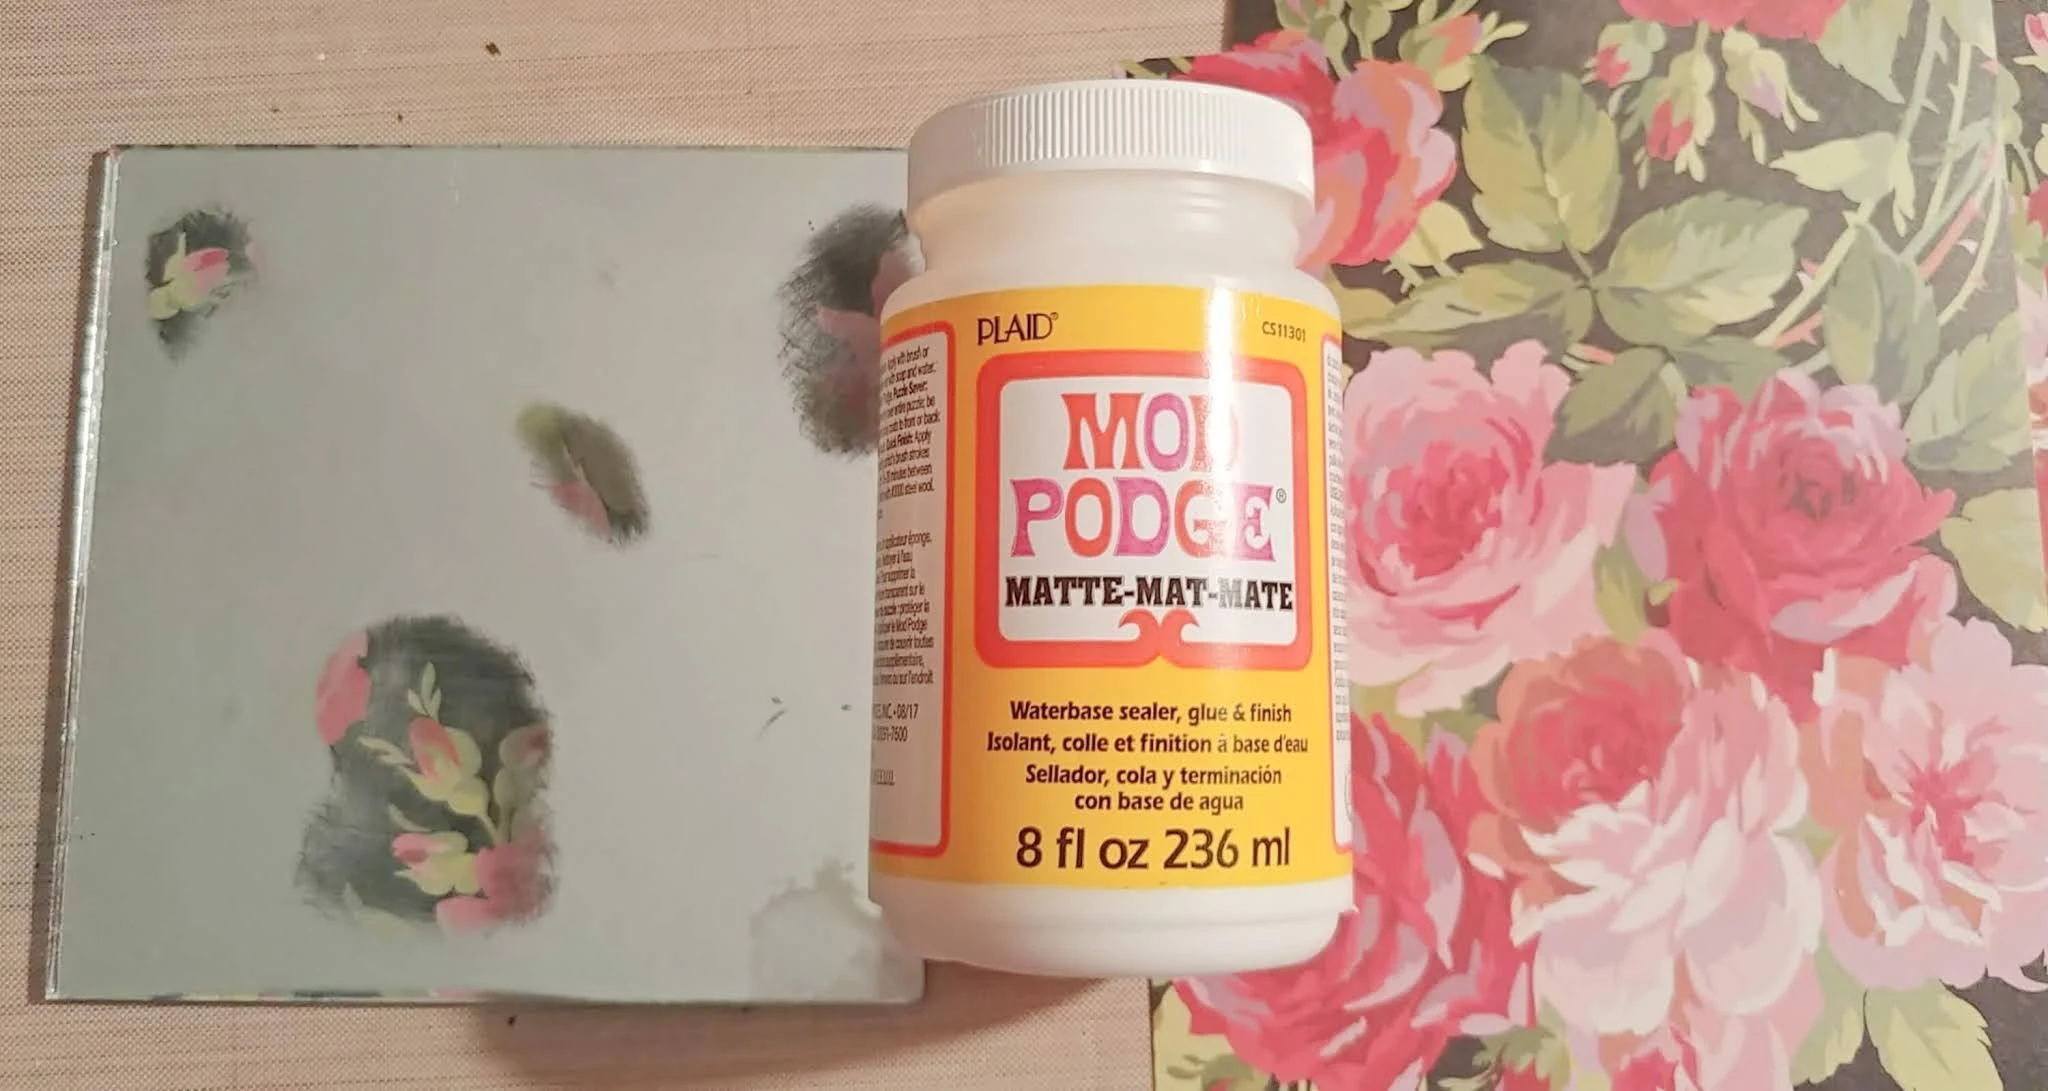
I picked out a piece of scrapbook paper that had roses and a black background for my mirrors.
Use Mod Podge to adhere the paper so it peeks through the places where you remove the mirror backing.
Step 3: Paint the Frames
I chose to use black spray paint as my base coat for the frames because it won't scrape off easily.
Once that was dry I added just a few squirts of stone textured spray paint here and there to add some more texture.
First add some rust-colored areas. I just used a stencil brush and pounced the colors on here and there, very random but mostly over the stone textured areas.
Now add cinnamon color with the same brush over the same areas allowing some of the rust to show through still.
Then add some teal and gray in the same way, still with the same brush.
At this point it looks like this... in all honesty I was a little worried at this point because they were pretty ugly... and I didn't have a plan! 😩 But I didn't give up!
Once that was dry, I used a piece of broken candle and rubbed it heavily all over the colored areas. This makes it so the next layer of paint won't stick as well to those areas where you have rubbed the wax.
Now paint the whole thing black... right over the top of the wax.
You can see the texture from the stone spray paint now.
Use an old sock or rag and some sandpaper to remove the black over the waxed areas.
Now I was starting to like it!
The final step is to add some Rub 'n Buff all over it. Rub 'n Buff is like a liquid gold leaf, it's really cool! Use the same rag to rub this all over (don't forget the sides)!
Step 6: Put the Mirror Back In
YES!!! Look at that! I love how old it looks, my experiment worked!
I do think you could leave out all the colors and just do the initial base coat, the stone texture, the candle rub, the black topcoat, and then the Rub 'n Buff but I like the colors that peek through.
PIN ME!
I think I'll make over this next:


You were very brave and your creativity won through!! They are so pretty now. Rub n Buff has been my go-to for so many project for the past 40 years. (love it!)
ReplyDeleteThanks Vikki... I'm not sure brave is a good description of how I roll, haha! Stubborn for sure!!
Delete